|
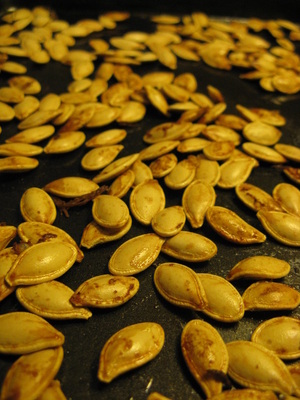
Happy Halloween! This year, I was a circus ring leader, and I decided to keep with the theme of the year: eating what's in season. Pumpkins aren't really used that much in typical North American cuisine, besides the staple pumpkin pie. I'm familiar with carving pumpkins...but with so many pumpkins around, I knew there had to be something else I could do with them. This season, I discovered two excellent pumpkin uses: roasted pumpkin seeds, and stuffed pumpkin. Roasted Pumpkin Seeds It seems like everyone has known about roasted pumpkin seeds besides me. I had bought them in a store before, but I had no idea how easy they are to make (especially when you have just carved a pumpkin and have tons of pumpkin guts everywhere). Apparently my family completely bypassed this Halloween tradition. Just in case you didn't grow up with this either, here's how to make them: Step one: Get a pumpkin. Preheat the oven to 300 degrees F. Step two: Carve the pumpkin and take out the seeds. Rise the seeds in water to get the pumpkin guts off of them. Step three: Oil a baking sheet. Place the seeds flat on the baking sheet. Step four: Sprinkle salt on the seeds. Almost any other herbs or spices will work too - just salt and oil is great, but curry and sugar is amazing. Step five: Bake for about 45 minutes, checking on them periodically. They're done when they're crispy and slightly brown. Ta-da! Deliciousness. Stuffed Pumpkin
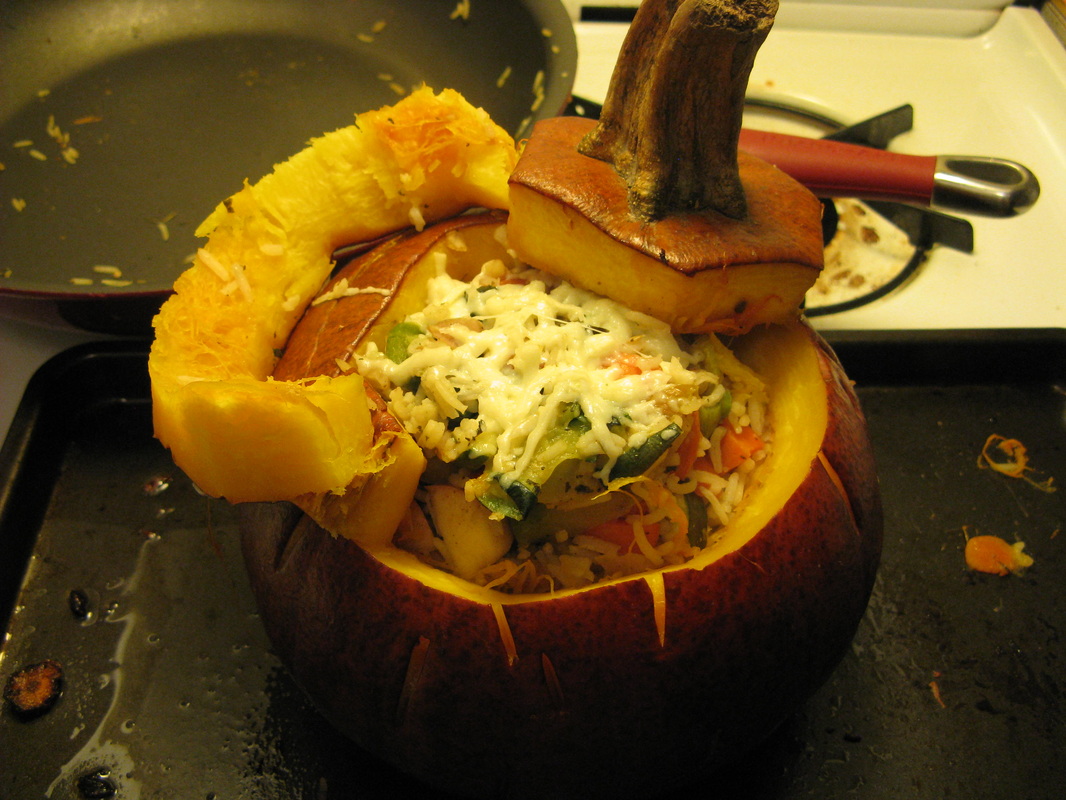
Yeah Shona, you say, but what do we do with the rest of the pumpkin, now that it's hollowed-out and seedless? Stuff it with rice, vegetables, apples, nuts, and spices! I found this recipe on a Mother Earth News blog last night, and the writer made this stuffed pumpkin as the main course instead of a turkey. How about that, vegetarian friends? Since I never follow recipes exactly, I changed it a bit. Here's my version: 1 medium pumpkin ~2 cups chopped veggies (carrots, zucchini, celery, peppers, eggplant, whatever you have in your fridge) 1 medium onion 2 cloves garlic 1/2 cup cooked rice 1 tbsp sage 1 tbsp oregano 1 tbsp thyme 1 tsp cinnamon 1/4 cup chopped walnuts 1/4 cup raisins 3 apples (chopped) 1/2 tsp parmesan 2 tbsp mozzerella Preheat the oven 350 F. Hollow out the pumpkin. Put about 1 tbsp of butter or margerine in the bottom. Jab slits with a knife throughout the pumpkin. Put the pumpkin's top back on. Leave it in the oven until the pumpkin flesh is tender when you poke it. In a frying pan, sautee onion and garlic together. Add celery, zucchini, peppers, etc. After about 5 minutes, add the cooked rice and sage, oregano, thyme, and a little bit of salt and pepper. Chop apples and sprinkle the cinnamon on them. When the rice has heated up, add the parmesan, apples, walnuts, and raisins. Keep this on low until your pumpkin has finished cooking. If you have tons of time, you can cook the vegetable stuffing by leaving it in the pumpkin for about three hours. As I made this on a Sunday night and didn't feel like spending the entire day making supper, I cooked the vegetables and rice in a frying pan and them added them to the cooked pumpkin, putting the top back on the pumpkin.I left mine in there for 15 minutes, but I think the longer it stays cooking in the pumpkin, the better. But come on people, we all have other things to do. I took the top off and put grated mozzerella cheese on it in the last 5 minutes. When you are tired of waiting the flavours to mix together in a steamy, buttery pumpkin bed, take the pumpkin out and cut a bigger hole in the top so you can scoop it out. Make sure you scrape off some of the pumpkin on the side! If you tried it, let me know! Also tell me if you made any modifications that improved on it.
0 Comments
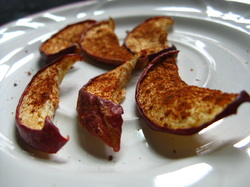
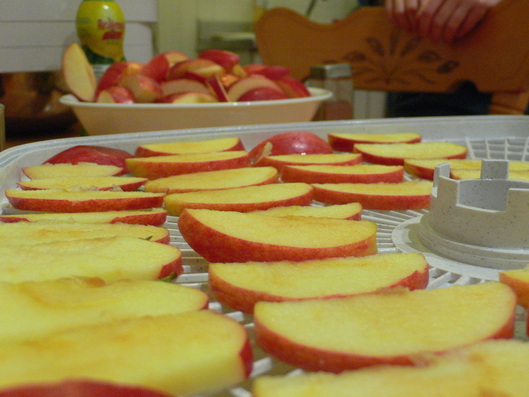
It was my birthday last weekend, and I asked my parents for two things for my birthday: a second hand food dehydrator, and some manure. I got both, thanks Mom and Dad! My parents are convinced I'm weird. With my new dehydrator, I made crispy dried apples. It was super easy, and it only took about an hour of prep and 10 hours in the dehydrator. I cut the apples and soaked them in a half lemon juice, half water mixture while I cut the rest of the apples. The lemon juice is so the apples don't turn brown. I could have peeled the apples, but that would have taken way longer, so I left them on. Once I cut up an entire bag of Gala apples, I laid them on the plastic frames of my American Harvest dehydrator, and sprinkled them with cinnamon. Then, I turned the dehydrator on to 135 F and left it in there for 10 hours.  When I woke up the next morning, I tasted the dried apples and put them in a ziplock bag. I've eaten them like that as a snack, or crunched them up and put them in my cereal. Super simple! Now I just need to invest in an apple corer/peeler to make the next batch ten times faster. |
About ShonaI'm an eco-conscious girl from Montreal, Quebec. I'm currently an adjunct science professor at Champlain College of Vermont (Montreal Campus). I'm interested in any opportunities to expand my experience with grassroots activism, climate change legislation, or environmental education. Archives
March 2016
Categories
All
|


 RSS Feed
